 Chart your integration course before setting sail with Payvessel.
To integrate Payvessel into your application, follow this step-by-step navigation guide.
Chart your integration course before setting sail with Payvessel.
To integrate Payvessel into your application, follow this step-by-step navigation guide.
⚡ Fast Setup
Get up and running in minutes with our streamlined onboarding
🔒 Secure Testing
Test safely in our sandbox environment with no real money
🏗️ Step 1: Create Your Developer Account
Sign up for a free merchant account to access your payvessel dashboard.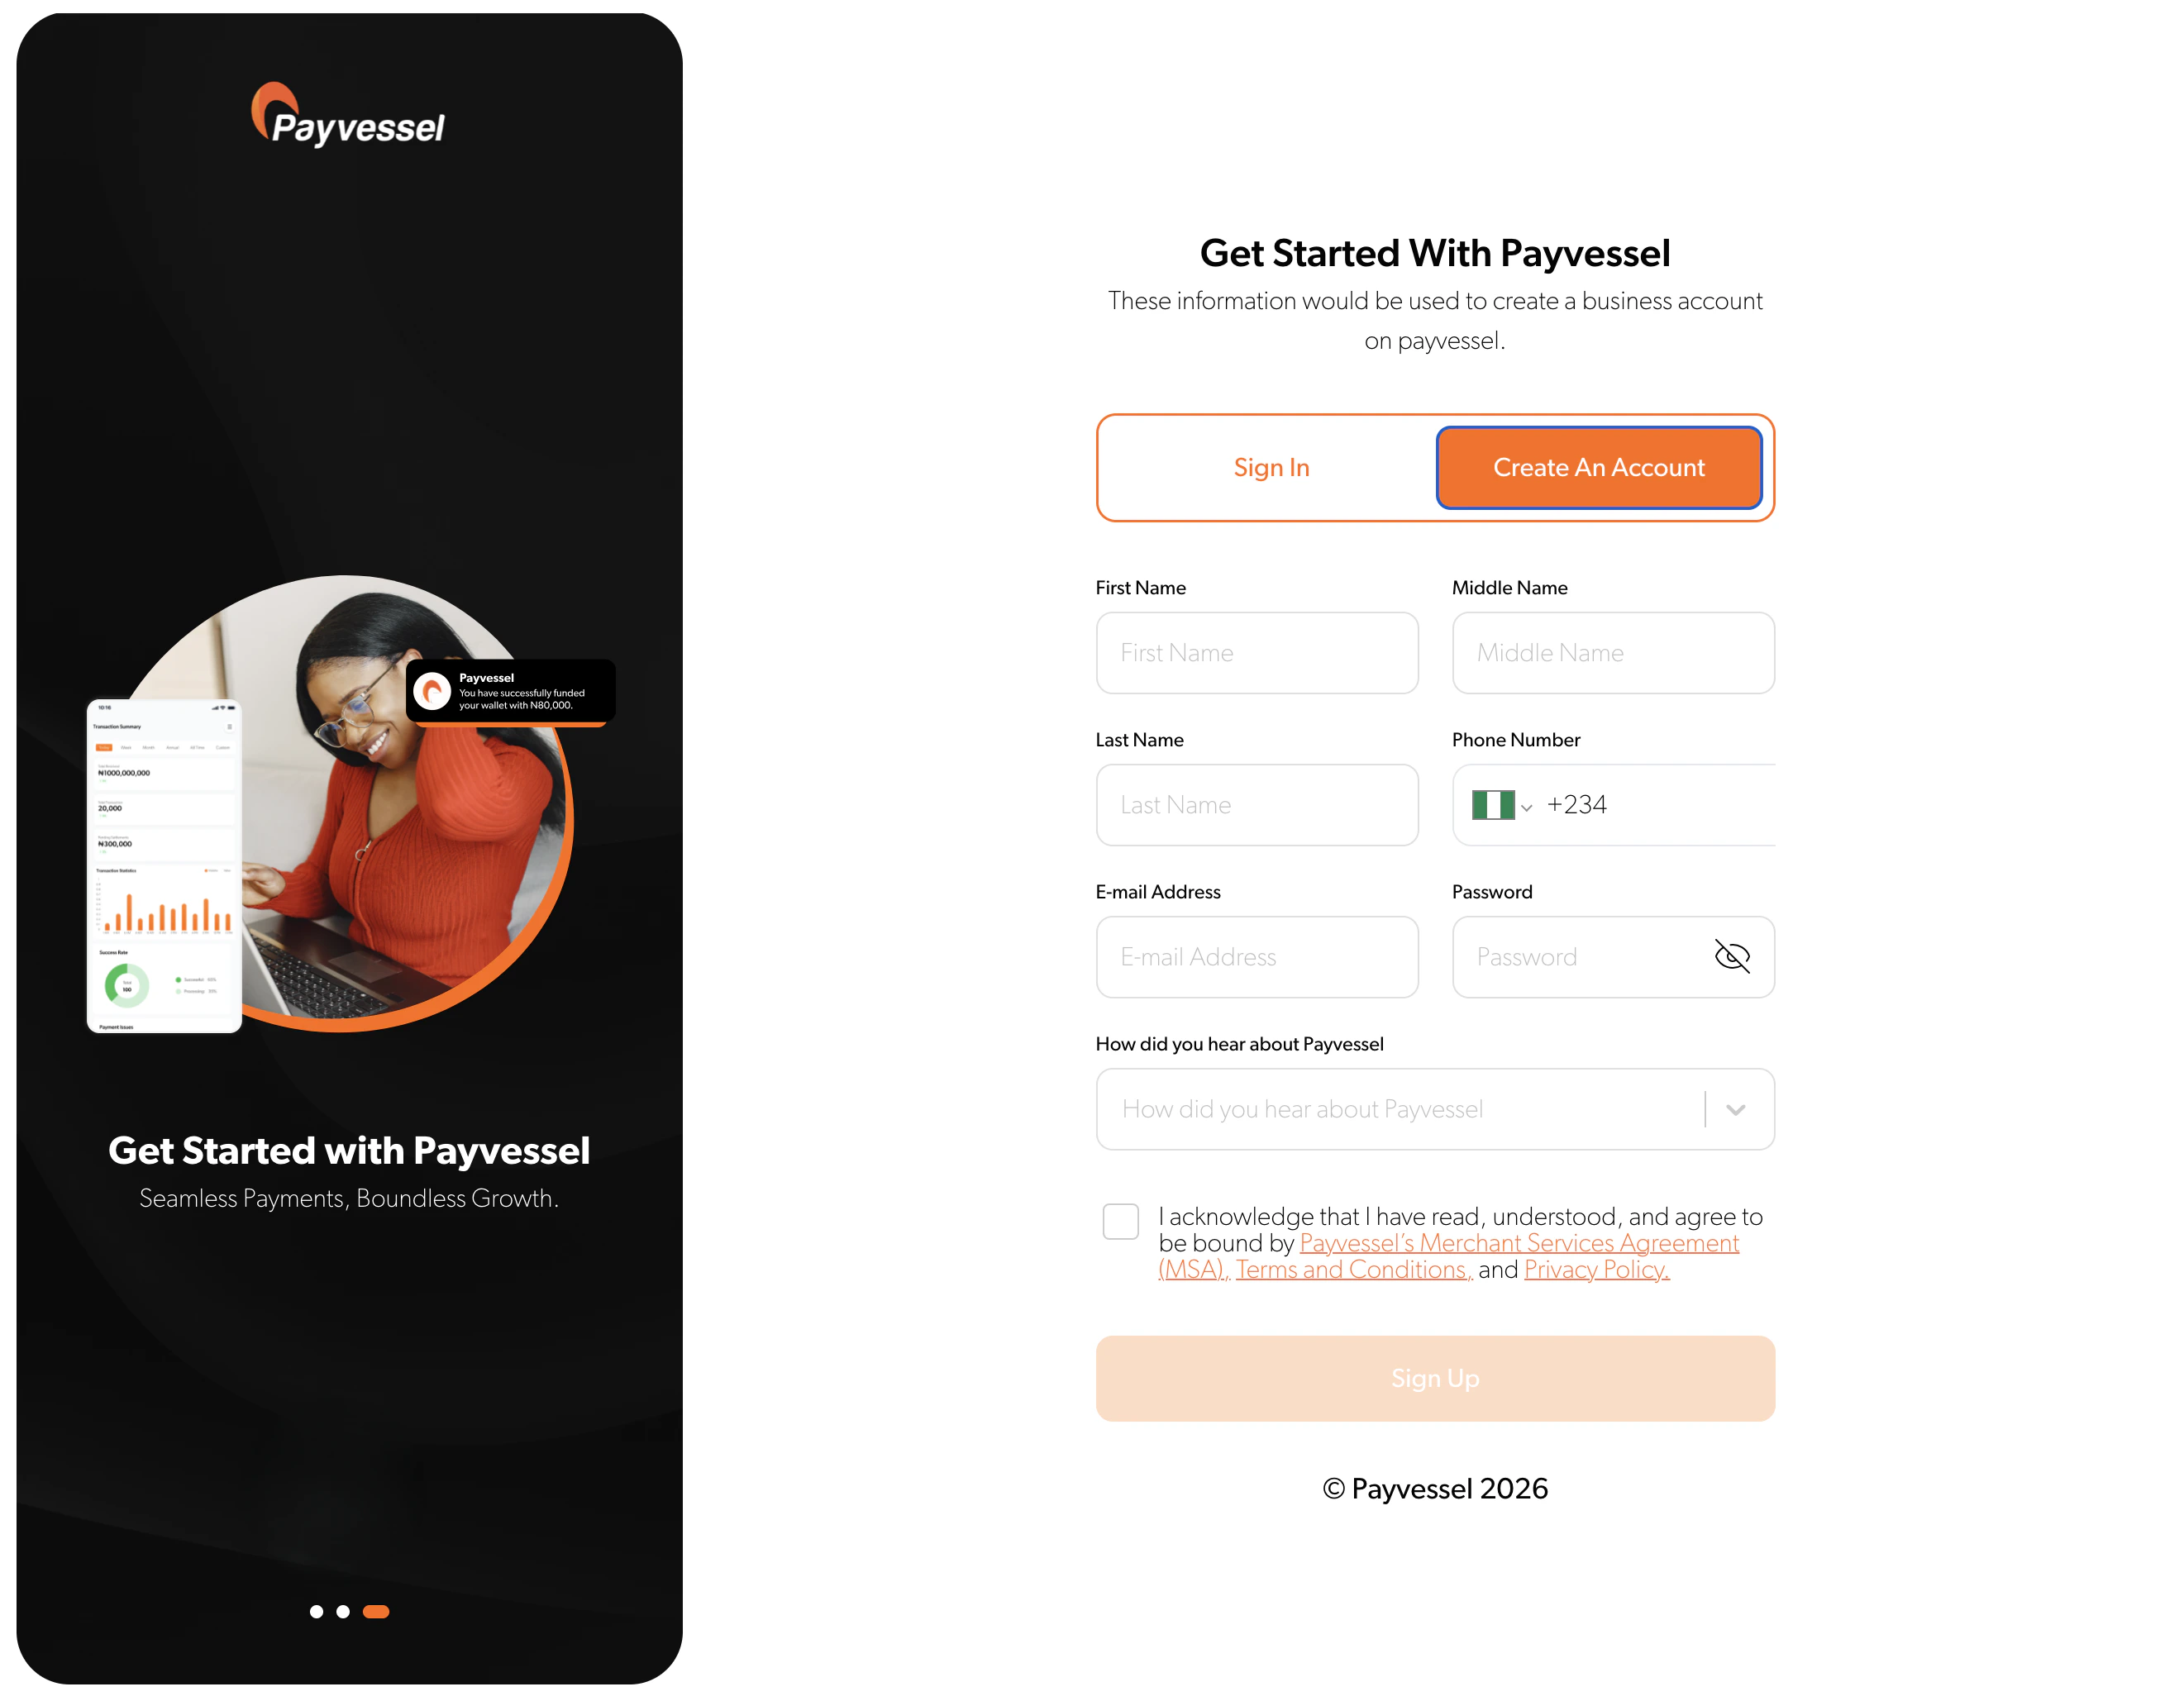
- 💳 Process payments using test card data and mock accounts
- 🏦 Simulate bank transfers and mobile money transactions
- 🔔 Test webhooks and error scenarios
- ✅ Validate customer identification processes
⚙️ Step 2: Configure Your Integration
Choose your integration vessel based on your technical stack and business needs:Payvessel Checkout
Use our pre-built checkout (cards + bank transfer) or the payvessel-checkout npm package
SDKs & Plugins
Leverage our libraries for popular frameworks and platforms
Direct API Integration
Build custom payment flows using our flexible endpoints
Testing Best Practices
Testing Best Practices
- Use our comprehensive test card numbers
- Validate all error scenarios
- Test webhook endpoints thoroughly
- Verify mobile money simulations
Integration Patterns
Integration Patterns
- Single payment flows
- Subscription billing
- Multi-party transactions
- Mobile-first implementations
🚀 Step 3: Launch Your Live Account
After successful testing, upgrade to a production account to access real transaction processing capabilities and actual fund movements.📋 Step 4: Complete Business Verification
To begin live transactions, you’ll need to complete our verification process, which includes submitting business documentation and bank account details for settlement.🌟 Step ∞: Go Live! 🚀
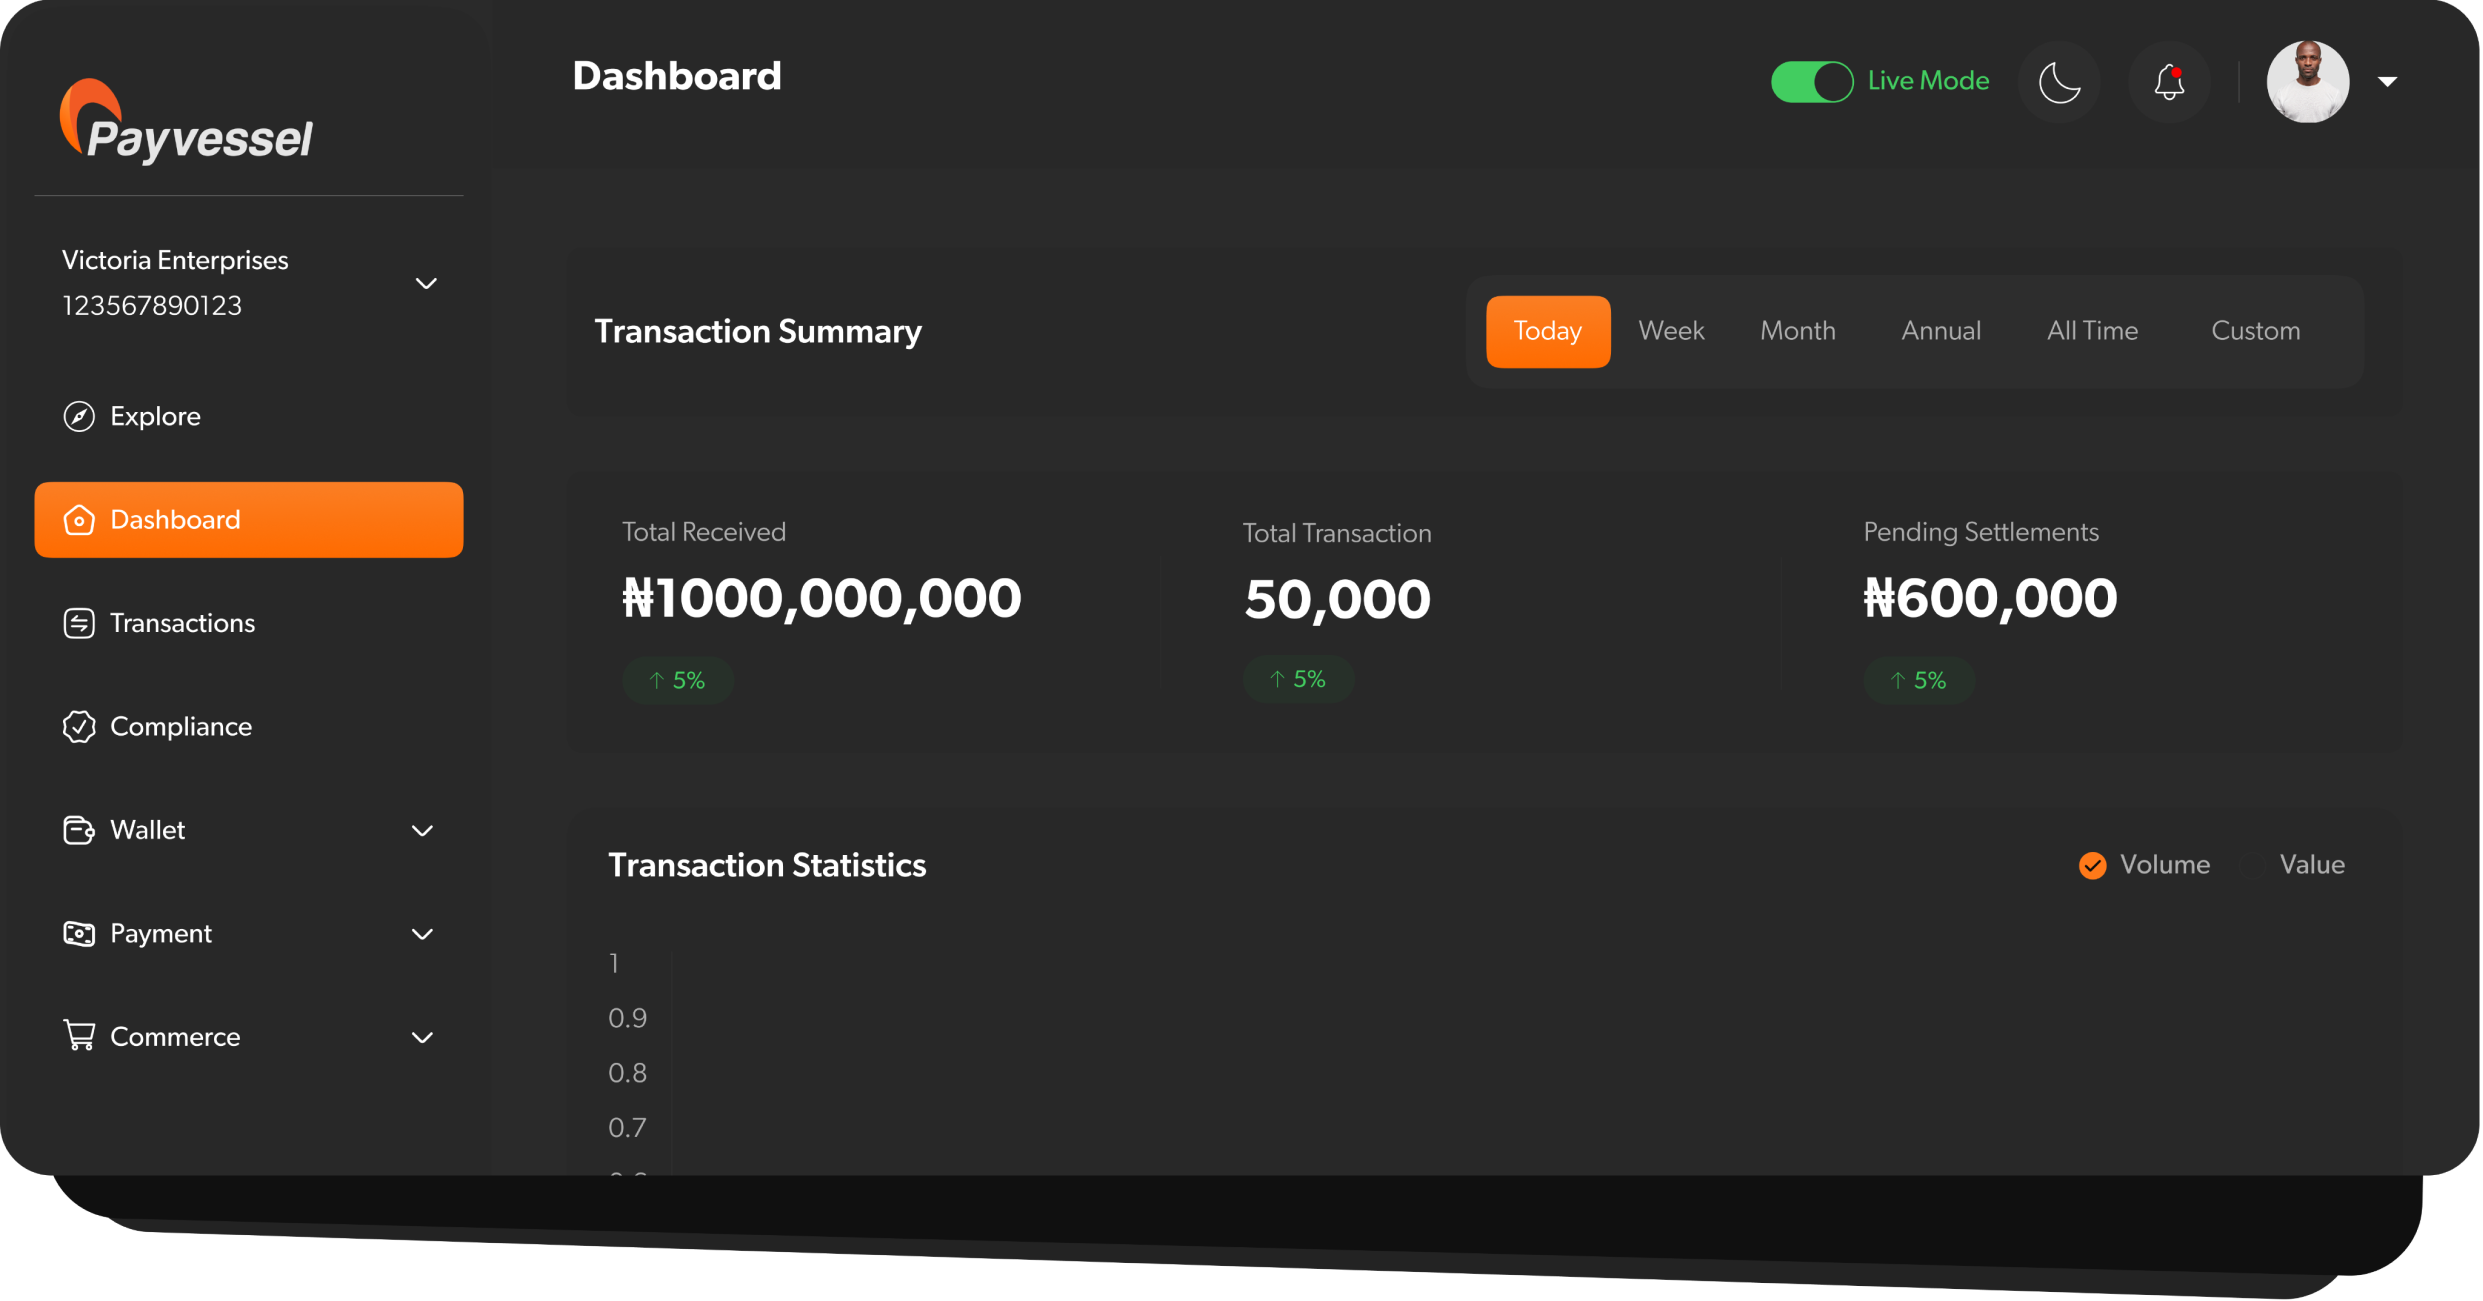
Once verified and approved, you’re ready to navigate live waters! Start accepting real payments in multiple currencies through your Payvessel dashboard.🎯 Explore Dashboard
Discover advanced features and settings unavailable in test mode
✅ Review Integration
Use our go-live checklist to ensure everything is shipshape
🔄 Transfer Configurations
Migrate webhooks, redirect URLs, and security settings
📊 Monitor Performance
Track transactions and optimize your payment flows
Pre-Launch Checklist:
- All sandbox tests passing
- Webhook endpoints configured
- Error handling implemented
- Security best practices followed
- Production credentials updated
🆘 Need Guidance?
Our developer documentation includes detailed tutorials, API references, and troubleshooting guides to ensure smooth sailing throughout your integration journey.📚 Documentation Hub
Comprehensive API references and guides
💬 Developer Support
Get help from our integration experts
🧪 Testing Tools
Sandbox environment and test utilities
📖 Code Examples
Ready-to-use integration snippets
Ready to begin your payment journey?
🚀 Create Developer Account
Start building with Payvessel today
📖 Explore API Docs
Dive deep into our comprehensive API