> ## Documentation Index
> Fetch the complete documentation index at: https://docs.payvessel.com/llms.txt
> Use this file to discover all available pages before exploring further.
# Quickstart
> Get started with the PayVessel API: authentication, sandbox, virtual card API, virtual account API, and identity verification in minutes.
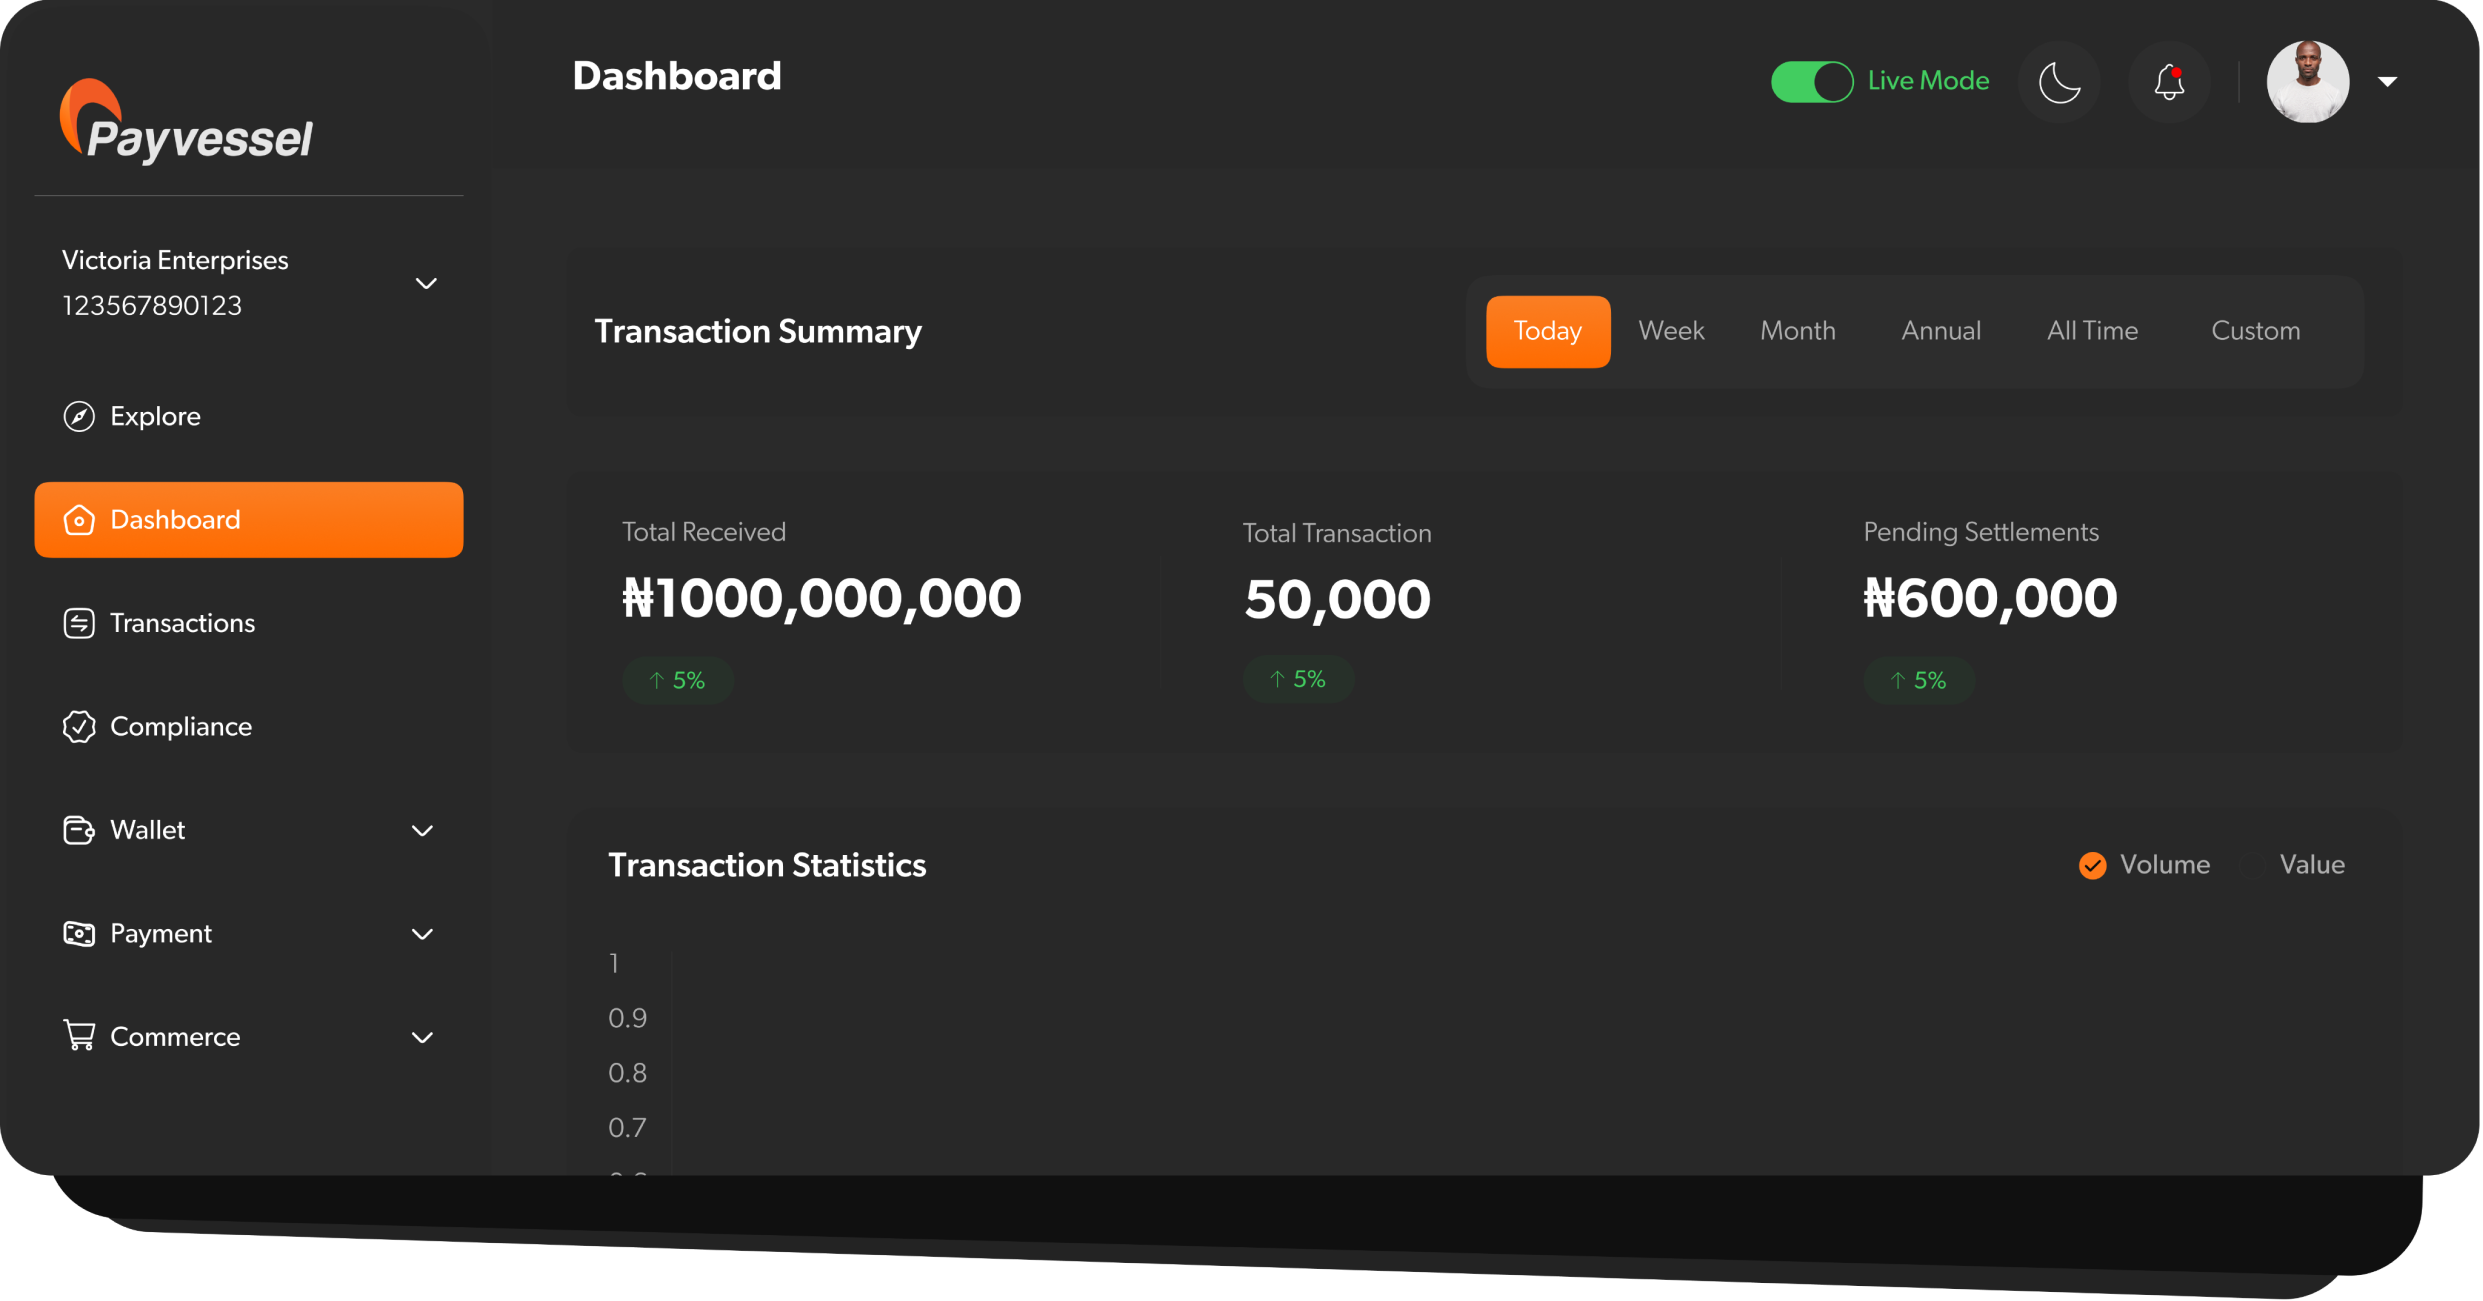 **Chart your integration course before setting sail with Payvessel.**
To integrate Payvessel into your application, follow this step-by-step navigation guide.
Get up and running in minutes with our streamlined onboarding
Test safely in our sandbox environment with no real money
***
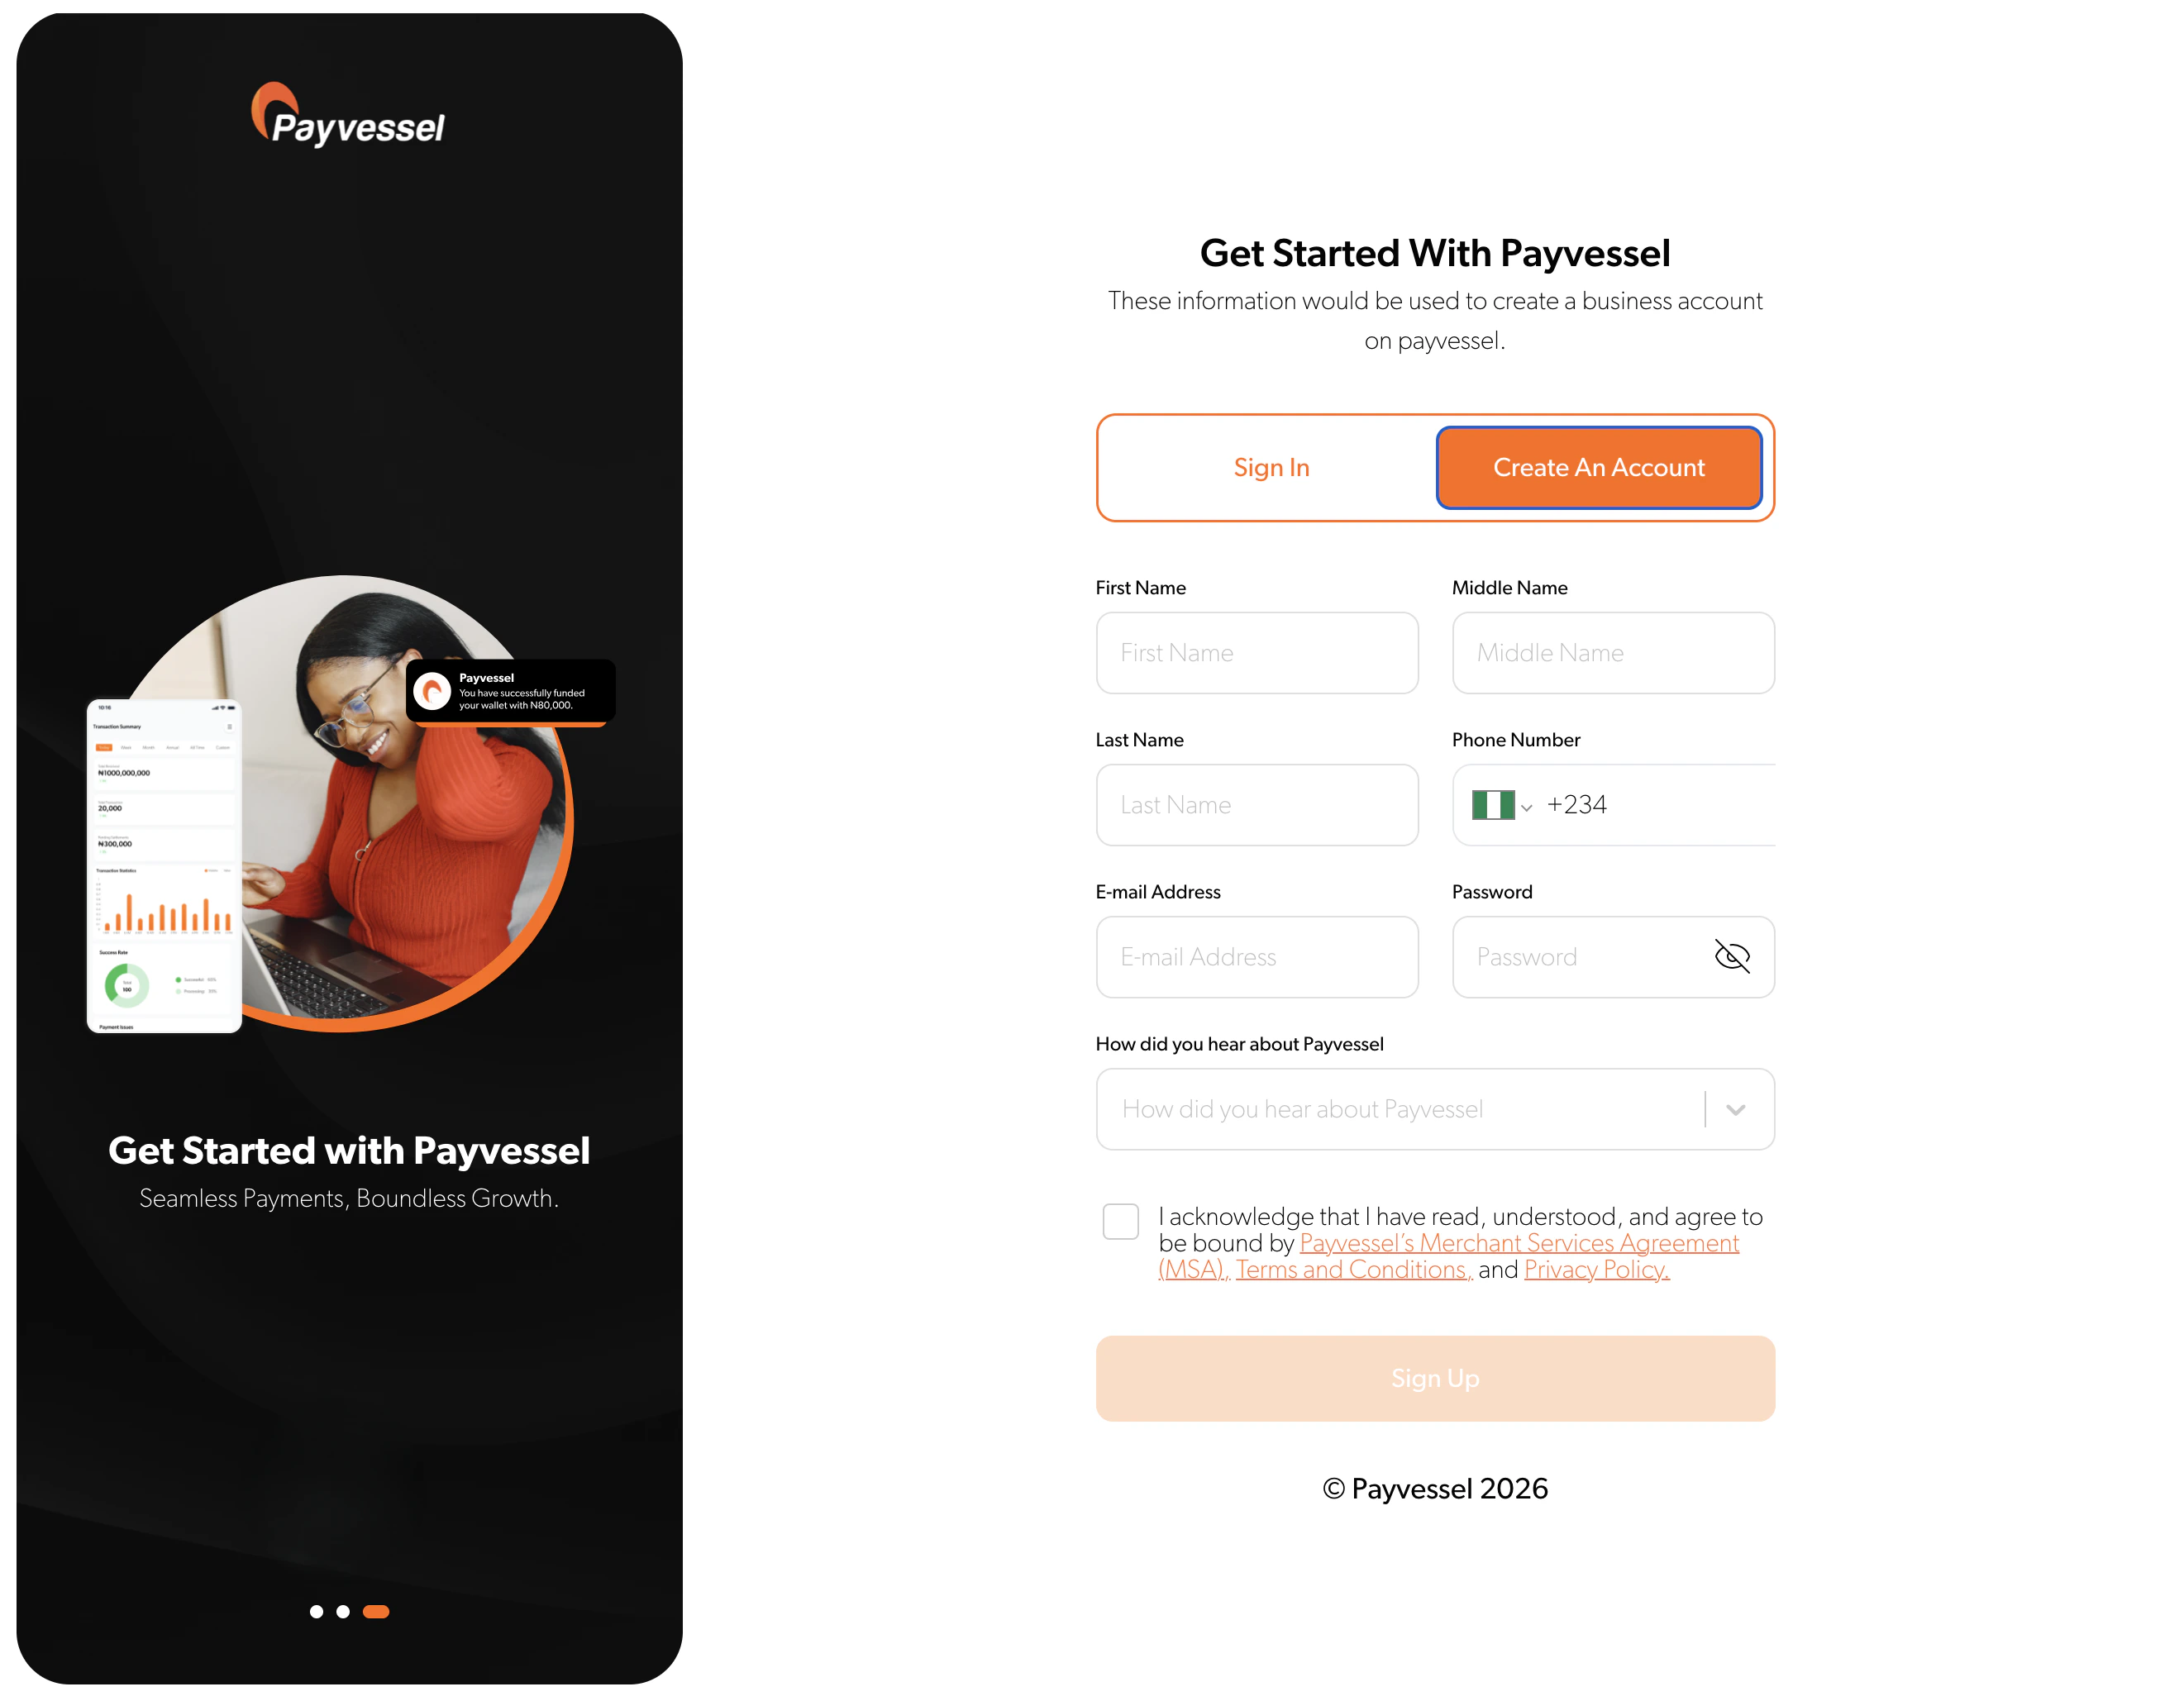
## 🏗️ Step 1: Create Your Developer Account
**Sign up for a free merchant account** to access your payvessel dashboard.
**Chart your integration course before setting sail with Payvessel.**
To integrate Payvessel into your application, follow this step-by-step navigation guide.
Get up and running in minutes with our streamlined onboarding
Test safely in our sandbox environment with no real money
***
## 🏗️ Step 1: Create Your Developer Account
**Sign up for a free merchant account** to access your payvessel dashboard.
 In the Payvessel sandbox, you'll be able to:
* 💳 Process payments using test card data and mock accounts
* 🏦 Simulate bank transfers and mobile money transactions
* 🔔 Test webhooks and error scenarios
* ✅ Validate customer identification processes
Learn more about testing in our sandbox environment in our [development guide](/development).
## ⚙️ Step 2: Configure Your Integration
**Choose your integration vessel** based on your technical stack and business needs:
Use our pre-built checkout (cards + bank transfer) or the payvessel-checkout npm package
Leverage our libraries for popular frameworks and platforms
Build custom payment flows using our flexible endpoints
📘 **New to APIs?**
Read our [beginner-friendly guide](/essentials/markdown) to understand how APIs work and how to implement them in your application.
Once you select your integration method, test thoroughly using sandbox credentials and our provided test data. We've compiled common integration patterns and best practices to help you avoid early obstacles.
* Use our comprehensive test card numbers
* Validate all error scenarios
* Test webhook endpoints thoroughly
* Verify mobile money simulations
* Single payment flows
* Subscription billing
* Multi-party transactions
* Mobile-first implementations
## 🚀 Step 3: Launch Your Live Account
After successful testing, **upgrade to a production account** to access real transaction processing capabilities and actual fund movements.
## 📋 Step 4: Complete Business Verification
To begin live transactions, you'll need to **complete our verification process**, which includes submitting business documentation and bank account details for settlement.
Upload your business registration and tax documents
Provide settlement account information for fund transfers
Submit identity verification for business owners
Our team will review and approve your application within 24-48 hours
## 🌟 Step ∞: Go Live! 🚀
**Once verified and approved, you're ready to navigate live waters!** Start accepting real payments in multiple currencies through your Payvessel dashboard.
Discover advanced features and settings unavailable in test mode
Use our go-live checklist to ensure everything is shipshape
Migrate webhooks, redirect URLs, and security settings
Track transactions and optimize your payment flows
**Pre-Launch Checklist:**
* [ ] All sandbox tests passing
* [ ] Webhook endpoints configured
* [ ] Error handling implemented
* [ ] Security best practices followed
* [ ] Production credentials updated
***
## 🆘 Need Guidance?
Our developer documentation includes detailed tutorials, API references, and troubleshooting guides to ensure smooth sailing throughout your integration journey.
Comprehensive API references and guides
Get help from our integration experts
Sandbox environment and test utilities
Ready-to-use integration snippets
In the Payvessel sandbox, you'll be able to:
* 💳 Process payments using test card data and mock accounts
* 🏦 Simulate bank transfers and mobile money transactions
* 🔔 Test webhooks and error scenarios
* ✅ Validate customer identification processes
Learn more about testing in our sandbox environment in our [development guide](/development).
## ⚙️ Step 2: Configure Your Integration
**Choose your integration vessel** based on your technical stack and business needs:
Use our pre-built checkout (cards + bank transfer) or the payvessel-checkout npm package
Leverage our libraries for popular frameworks and platforms
Build custom payment flows using our flexible endpoints
📘 **New to APIs?**
Read our [beginner-friendly guide](/essentials/markdown) to understand how APIs work and how to implement them in your application.
Once you select your integration method, test thoroughly using sandbox credentials and our provided test data. We've compiled common integration patterns and best practices to help you avoid early obstacles.
* Use our comprehensive test card numbers
* Validate all error scenarios
* Test webhook endpoints thoroughly
* Verify mobile money simulations
* Single payment flows
* Subscription billing
* Multi-party transactions
* Mobile-first implementations
## 🚀 Step 3: Launch Your Live Account
After successful testing, **upgrade to a production account** to access real transaction processing capabilities and actual fund movements.
## 📋 Step 4: Complete Business Verification
To begin live transactions, you'll need to **complete our verification process**, which includes submitting business documentation and bank account details for settlement.
Upload your business registration and tax documents
Provide settlement account information for fund transfers
Submit identity verification for business owners
Our team will review and approve your application within 24-48 hours
## 🌟 Step ∞: Go Live! 🚀
**Once verified and approved, you're ready to navigate live waters!** Start accepting real payments in multiple currencies through your Payvessel dashboard.
Discover advanced features and settings unavailable in test mode
Use our go-live checklist to ensure everything is shipshape
Migrate webhooks, redirect URLs, and security settings
Track transactions and optimize your payment flows
**Pre-Launch Checklist:**
* [ ] All sandbox tests passing
* [ ] Webhook endpoints configured
* [ ] Error handling implemented
* [ ] Security best practices followed
* [ ] Production credentials updated
***
## 🆘 Need Guidance?
Our developer documentation includes detailed tutorials, API references, and troubleshooting guides to ensure smooth sailing throughout your integration journey.
Comprehensive API references and guides
Get help from our integration experts
Sandbox environment and test utilities
Ready-to-use integration snippets
**Ready to begin your payment journey?**
Start building with Payvessel today
Dive deep into our comprehensive API